
This guide will equip you with imperative steps to accurately fit and join pond liner for your aquatic oasis. Understanding the right techniques will ensure water retention and prevent leaks, safeguarding your investment in the pond feature. You’ll learn about selecting the proper materials, measuring your space accurately, and effectively joining seams for a watertight seal. Dive into this process with confidence, and soon, you’ll have a beautiful and functional pond that enhances your outdoor environment.
Table of Contents
Key Takeaways:
- Ensure proper measurements of your pond area to determine the right size of the pond liner needed.
- Choose a high-quality liner material that is durable and suited for aquatic environments.
- Prior to installation, prepare the pond’s base by removing sharp objects and smoothing out rough edges.
- Utilize overlapping techniques and proper sealing methods when joining multiple sheets of liner to create a watertight barrier.
- Plan for any landscaping or edging around the pond to securely hold the liner in place and enhance the aesthetic appeal.
Essential Tools and Materials
The right tools and materials are vital for successfully fitting and joining your pond liner. You need items that ensure durability and easy application, allowing for a seamless installation. Investing in quality materials will help avoid leaks and prolong the life of your pond. Gather the necessary equipment before starting to ensure a smooth process.
Required Equipment
Required equipment for pond liner installation includes everything necessary to create a sturdy and effective system. Having the right tools will make the task much simpler and enhance the overall outcome.
| Item | Purpose |
| Pond Liner | Forms the base of your pond |
| Scissors | For cutting the liner to size |
| Shovel | Used for digging the pond area |
| Rake | To level the ground for ease of installation |
Types of Pond Liners
Now, understanding the different types of pond liners is important when planning your project. Each type offers unique benefits and limitations that affect the final result.
| Type | Benefits |
| EPDM | Highly flexible and durable |
| PVC | Cost-effective and easy to install |
| HDPE | Excellent resistance to punctures |
| Butyl | Long-lasting and watertight |
Plus, knowing about the different types of liners helps in making an informed decision based on your pond’s design and purpose. Each type has its own characteristics that can suit specific needs.
- EPDM is most popular for its flexibility.
- PVC is a budget-friendly option.
- HDPE is ideal for high-puncture resistance.
- Butyl is extremely durable.
- RPE is lightweight and easy to handle.
Perceiving the differences among pond liners can significantly affect the functionality of your pond. Make your selection carefully to ensure satisfaction with your project.
Site Preparation
One of the first steps in fitting and joining your pond liner is proper site preparation. This involves clearing the designated area of debris, rocks, and vegetation to create a clean, flat surface for your pond. Ensure that the edges of the pond are smooth and gently sloping, promoting water retention and enhancing the aesthetic appeal of your garden landscape.
Ground Assessment
You need to conduct a thorough ground assessment before installation. Check for any sharp objects, heavily compacted soil, or existing roots that could potentially damage your pond liner. Additionally, evaluating the drainage of the area will help you prevent future issues, ensuring your pond remains healthy and functional.
Base Layer Installation
To set the stage for a successful pond liner installation, start by creating a base layer. This layer should consist of sand or a similar soft material to provide a smooth surface under the liner, reducing the risk of punctures. Ensure the base is at least 2 inches thick and level to promote even water distribution.
Understanding how to install the base layer effectively is important for the longevity of your pond. Use clean sand that is free of debris and sharp objects which can harm the liner. A well-prepared base will help you avoid damaging the liner over time, ensuring its function and durability. Inadequate preparation can lead to potential leaks or compromised aesthetics later on, so take your time in this step to guarantee a stable foundation for your aquatic environment.
Measuring and Cutting
All successful pond projects begin with precise measurements. You must accurately gauge the dimensions of your pond area to ensure the liner fits perfectly. For tips about seam overlaps, take a look at this Must I seam overlapping liners on a pond floor? discussion which offers additional insights.
Calculating Liner Size
Calculating the appropriate liner size involves measuring the length and width of your pond, then adding extra material for overlaps and depth. Include a minimum of 12 inches of overlap on all sides for a secure installation.
Proper Cutting Techniques
Assuming you have measured correctly, the next step is to cut your pond liner with precision. Use a sharp utility knife on a flat surface, ensuring the cuts are clean to avoid fraying. Always wear protective gloves to prevent any accidental injuries while handling sharp blades.
The key to effective cutting techniques lies in making clean, straight cuts to ensure fitment that will stay intact over time. Utilize a sturdy table to support the liner and if necessary, use weights to keep it in place. Ensure your equipment is appropriate for the task at hand and handle with care, as sharp tools can be hazardous in inexperienced hands. Prior preparation will lead to a smoother installation process.
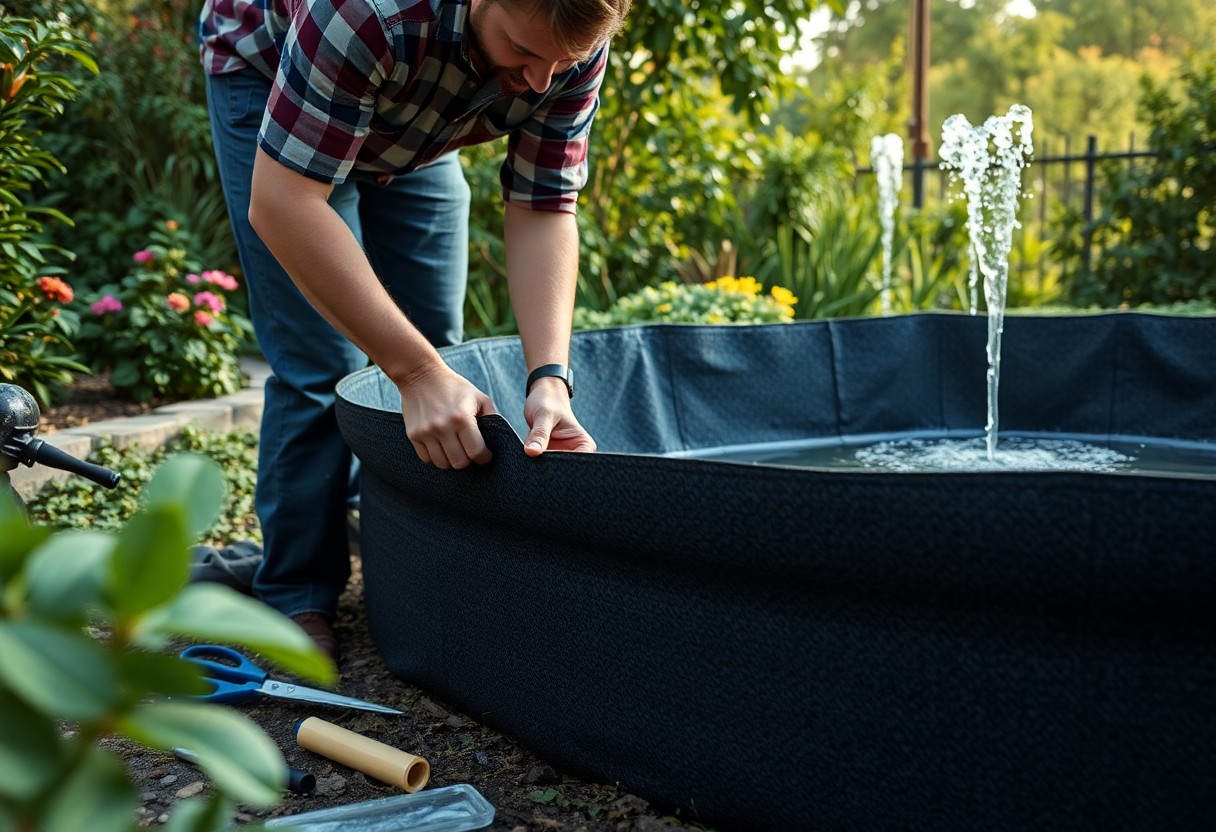
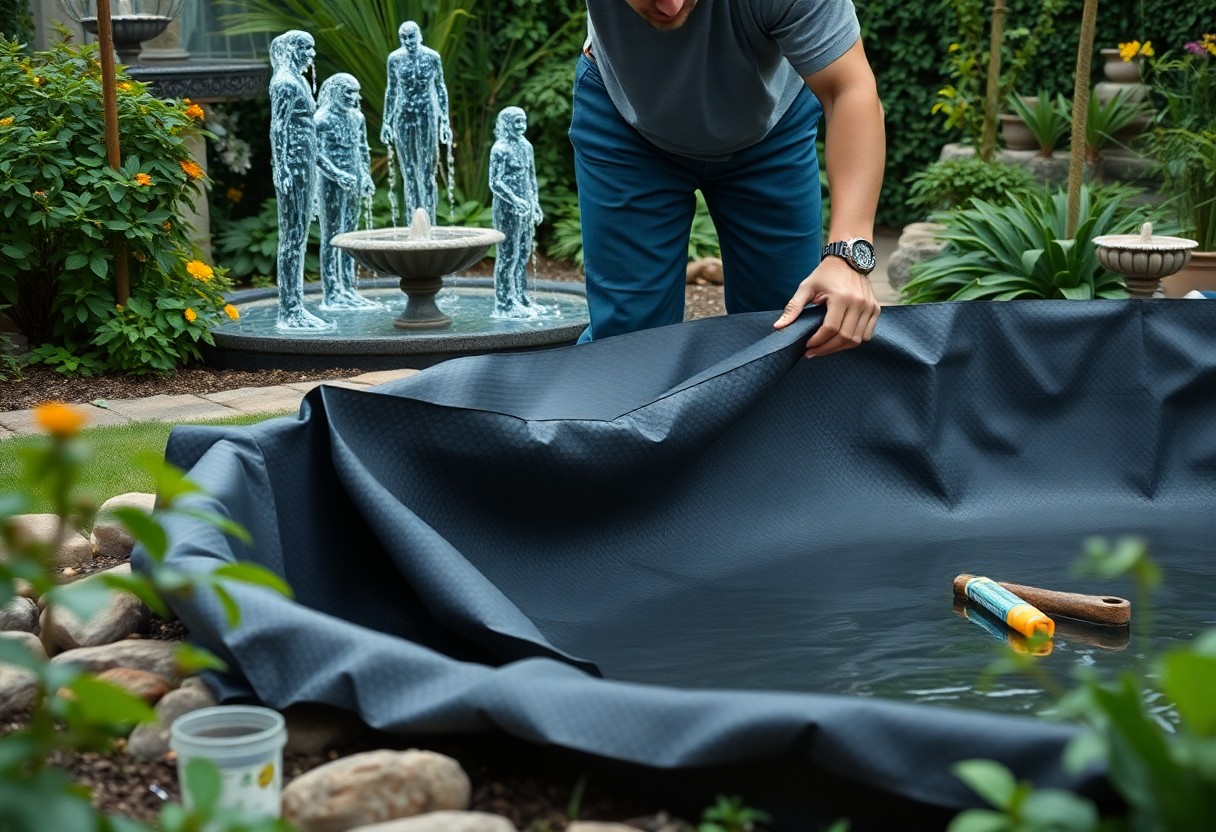
Liner Installation
After ensuring your pond area is clear and properly shaped, it’s time to install the liner. Carefully unfold the liner and lay it over your pond, allowing it to drape into all corners and curves of the excavation. You should work from the center outward, smoothing out any wrinkles to ensure a snug fit against the contours of your pond.
Positioning Methods
An effective way to position your pond liner is by using a combination of weights and water. Place smaller stones or bricks around the perimeter to hold it in place while you fill the pond with a few inches of water, which further helps in settling the liner and eliminates air pockets.
Securing Edges
For securing the edges of your pond liner, you will want to use stones or soil to hold the liner firmly in place. You should ensure that the edges are well-covered to prevent any water leakage.
A proper securing technique includes placing heavy stones around the perimeter of the liner and backfilling with soil. This not only provides stability but also adds a natural aesthetic to your pond. Be cautious when choosing the materials; smooth, larger rocks are preferable to avoid puncturing the liner. Ensure that the edges are elevated above water level to prevent water from escaping and to enhance the overall appearance of your pond.
Joining Techniques
Now that you’re ready to connect your pond liner, it’s important to understand the various joining techniques available to ensure a watertight seal. Effective joining prevents leaks, maximizes longevity, and maintains the aesthetic appeal of your pond. Familiarize yourself with methods like overlap techniques and seaming solutions to find the best fit for your project.
Overlap Methods
Joining two pieces of pond liner using the overlap method involves placing one sheet over the other by a minimum of 12 inches. This method is straightforward; you simply secure the overlapping edges with adhesive tape or a suitable pond liner adhesive. Don’t forget to press firmly to ensure a strong bond.
Seaming Solutions
If you seek a more robust and seamless integration, consider seaming solutions. This technique involves using heat or adhesives designed specifically for pond liners, allowing you to create a strong, watertight seal that minimizes the risk of leakage.
It’s crucial to choose the right adhesive or heat welding tool to achieve a reliable bond when using seaming solutions. Ensure that you clean the edges thoroughly before applying adhesive to eliminate any contaminants that may lead to future issues. Follow the manufacturer’s instructions for drying times and consider using a roller or weight to reinforce the bond as it cures. This method not only prevents leaks but also contributes to the overall durability and success of your pond project.
Quality Checks
Many pond enthusiasts overlook the significance of conducting thorough quality checks on your pond liner. To ensure lasting performance, examine the material for any defects or irregularities. A great resource for guidance on How to Join EPDM Rubber Pond Liner can help you understand various joining techniques and the importance of proper checks before installation.
Leak Testing
There’s no worse feeling than discovering a leak in your pond after installation. To prevent this, perform a thorough leak test by filling your pond and monitoring the water levels over a few days. If you observe a significant drop in water, investigate the seams and joins for potential leaks, allowing you to remedy the issue early.
Surface Inspection
Even after the initial quality checks, you should conduct a comprehensive surface inspection of the pond liner. This involves assessing the liner for any signs of wear or damage that could lead to leaks or structural integrity issues.
Understanding the surface quality of your pond liner is vital for a successful installation. Look for any tears, punctures, or folding that may compromise the liner’s functionality. Addressing even minor flaws can greatly enhance your pond’s longevity, ensuring that your aquatic environment remains healthy and visually appealing. Conducting this assessment routinely after installation can help catch problems early, contributing to a long-lasting and successful pond.
Conclusion
With this in mind, fitting and joining your pond liner requires careful planning and execution to ensure a watertight seal. Start by measuring your pond area accurately and cutting the liner to size, allowing for overlaps where necessary. Use high-quality adhesive and seam tape designed for pond liners to bond the edges securely. Finally, inspect your work thoroughly to prevent leaks and maintain the beauty of your pond. By following these steps, you can achieve a durable and functional pond liner that enhances your outdoor space.
FAQ
Q: What type of pond liner is best for my pond?
A: The best type of pond liner depends on a few factors including the size and depth of your pond, as well as the type of plants or fish you plan to have. Common options include EPDM (Ethylene Propylene Diene Monomer) liners, which are durable and flexible, and PVC liners, which are less expensive but may not last as long. For small garden ponds, liners as thin as 20 mil might suffice, while larger ponds might benefit from thicker materials to withstand pressure and environmental conditions.
Q: How do I prepare the area before fitting the pond liner?
A: Before fitting the pond liner, start by clearing the area of any debris, sharp objects, or plants that could damage the liner. It is advisable to excavate the pond shape you desire, ensuring the edges are smooth and free of jagged rocks. Providing a layer of sand or old carpet as padding on the base and edges can help protect the liner from punctures during and after installation.
Q: What is the best method for joining two pieces of pond liner?
A: There are two primary methods for joining pieces of pond liner: overlapping and using liner tape. For overlapping, lay the edges of the two liners on top of each other by at least 12 inches, then seal them with pond liner adhesive or silicone that is safe for aquatic life. When using liner tape, clean the edges of both pieces, apply the tape according to the manufacturer’s instructions, and ensure a firm bond. Always check for leaks after completing the join.
Q: How can I avoid leaks in my pond after installing the liner?
A: To avoid leaks, it’s important to adequately seal any joints and overlaps if using multiple liners. Additionally, inspect the entire liner for potential weak points before filling the pond with water. Ensure that the liner fits well in all areas, especially around the edges. Once the pond is filled, observe it over the next few days to check for any drops in water levels, which may indicate a leak. Testing with a small volume of water before full filling can be an effective precaution.
Q: Can I fit a pond liner by myself, or do I need assistance?
A: Fitting a pond liner can be done alone, but having an extra set of hands can greatly simplify the process. If you are working with a large or heavy liner, enlisting help can prevent tearing and make it easier to position the liner accurately. Additionally, during the installation phase where adjustments might need to be made, having someone else on hand can be beneficial for ensuring everything is done correctly.