
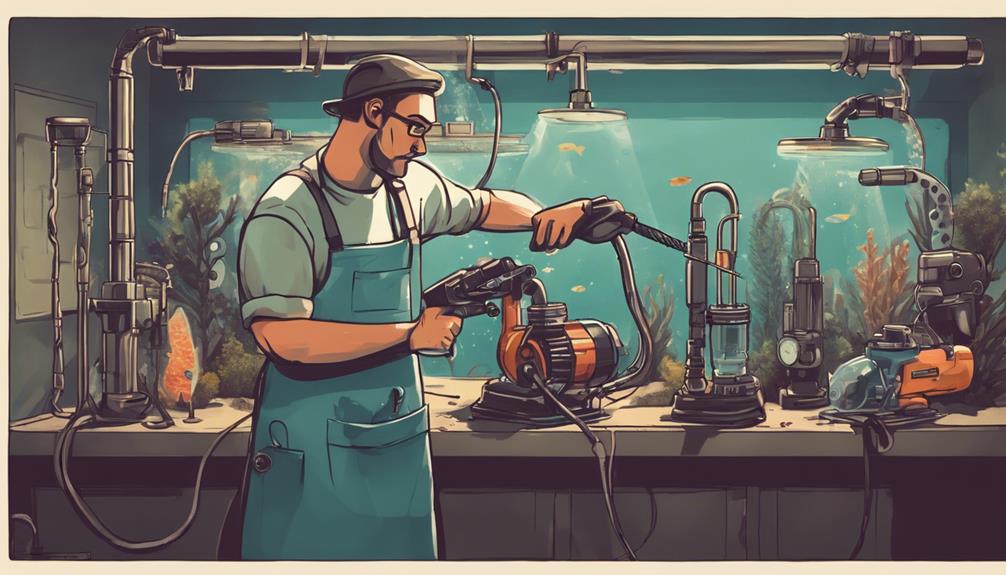
You can create a DIY aeration system to boost oxygen levels and water circulation, promoting healthy fish growth. Start by preparing PVC pipes, assembling the airlift pump, and attaching airline tubing. For a Venturi aerator, drill strategically placed holes and connect the air tube. Consider a solar-powered air pump or paddle wheel aerator for alternative options. Before installation, inspect your lawn terrain, locate underground obstacles, and assess water depth. With precise drill hole placement and secure connections, you'll be on your way to a thriving aquaculture operation. Now, take the next step to discover the specifics of each DIY aeration system.
Table of Contents
Key Takeaways
- Cost-effective DIY aeration systems improve fish health and growth by increasing oxygen levels and water circulation.
- Precise drill hole placement and PVC pipe preparation are crucial for optimal airflow and water flow rates in DIY airlift pumps and Venturi aerators.
- Secure and watertight connections are essential when attaching airline tubing to PVC pipes and fittings to prevent air leaks and system failure.
- Customization options in DIY aeration systems allow farmers to adapt to changing environmental conditions and specific operation needs.
- Proper installation and maintenance of DIY aeration systems are vital to ensure a healthy and thriving ecosystem for fish.
DIY Aeration System Benefits
By implementing a DIY aeration system, you can tap into a multitude of benefits that not only improve the health and growth of your fish but also enhance your overall aquaculture operation.
One of the most significant advantages is the cost-effectiveness of these systems, making them an accessible solution for farmers of all scales.
You'll also appreciate the flexibility and customizability of DIY aeration systems, which can be tailored to suit your specific needs and operation type.
DIY Airlift Pump Installation
Now that you've decided to install a DIY airlift pump, it's time to get started!
You'll need to prepare your PVC pipe by cutting it to the correct length and deburring the edges.
Next, you'll focus on placing drill holes in strategic locations and attaching airline tubing to create a seamless connection.
PVC Pipe Preparation
You'll need to carefully cut and deburr the PVC pipes to guarantee a secure and watertight connection for your DIY airlift pump installation.
To do this, use a pipe cutter or a hacksaw to cut the PVC pipes to the required lengths. Make sure to mark the pipes accurately before cutting to avoid errors. Once cut, use a deburring tool or a file to remove any rough edges or burrs. This step is vital, as any imperfections can compromise the connection and lead to leaks.
Next, clean the cut ends of the PVC pipes using a soft cloth and some mild detergent. This will guarantee a strong bond between the pipes and the fittings.
Now, you're ready to assemble the PVC pipes and fittings. Apply a thin layer of PVC cement to the pipes and fittings, following the manufacturer's instructions. Make sure the connections are secure and watertight, as this will affect the performance of your DIY airlift pump.
Drill Hole Placement
Frequently, the success of a DIY airlift pump installation hinges on precise drill hole placement, which is why it's essential to carefully plan and execute this step.
When drilling holes near the bottom of the PVC pipe, make sure they're evenly spaced and angled slightly upwards to prevent sediment from entering the pipe.
The number and size of holes will depend on the desired airflow and water flow rate, with more holes providing greater airflow but potentially reducing water flow.
Use a drill bit specifically designed for PVC pipes to avoid damaging the pipe.
A general rule of thumb is to drill holes that are 1/8 inch in diameter and spaced 1-2 inches apart, but this may need to be adjusted based on specific system requirements.
After drilling, clean and deburr the holes to facilitate smooth airflow and prevent damage to the system.
Remember, precise drill hole placement is pivotal for peak airflow and water circulation.
Airline Tubing Attachment
With the drill holes in place, attach the airline tubing to the PVC pipe by pushing it securely onto the pipe's fittings, guaranteeing a snug and watertight connection. Make sure the tubing is fully seated on the fittings to prevent any air leaks. You can use a few twists to secure it in place, but avoid over-tightening, which can damage the tubing.
Next, connect the other end of the airline tubing to the airlift pump. This connection should also be secure and watertight. You may need to use a few zip ties or tubing clamps to keep everything in place. Double-check that all connections are secure and won't come loose over time.
As you work, confirm the airline tubing isn't kinked or bent, which can restrict airflow. If you notice any kinks, gently straighten the tubing to maintain a smooth flow of air. With the airline tubing attached and secure, you're one step closer to completing your DIY aeration system and creating a healthy environment for your fish.
DIY Paddle Wheel Aerator Setup
Setting up a DIY paddle wheel aerator requires gathering materials, including a waterproof motor, a paddle wheel, and a mounting system, which will be attached to a floating platform or dock.
You'll also need to purchase an air stone, which will help increase oxygen levels in the water.
Once you have all the necessary components, it's time to assemble the system. Attach the paddle wheel to the motor, making sure it's securely fastened. Then, connect the air stone to the motor, ensuring a tight seal.
Next, attach the mounting system to the floating platform or dock, making sure it's level and secure.
Finally, place the paddle wheel aerator in the water, and plug it in. As the paddle wheel spins, it'll create a circulation of water, increasing oxygen levels and improving water quality.
The air stone will also release tiny bubbles, further increasing oxygen levels.
With your DIY paddle wheel aerator up and running, you'll be providing a healthy environment for your fish to thrive.
DIY Solar-Powered Air Pump Guide
You'll harness the power of the sun to create a reliable and eco-friendly aeration system by building a DIY solar-powered air pump, which will provide a consistent flow of oxygen to your pond or tank. This setup is perfect for those who want to reduce their carbon footprint while keeping their fish healthy.
Position the solar panel in a location with maximum sunlight to guarantee a consistent energy source for the air pump.
Connect the air pump to the solar panel, with an optional battery and charge controller, to store excess energy for nighttime or low-sunlight periods.
Attach airline tubing to the air pump and secure it with hose clamps, then place an air stone or diffuser at the bottom of the pond or tank to release air bubbles and increase oxygen levels.
Remember to position the air pump and solar panel in a well-ventilated area to prevent overheating and secure peak performance. Monitor the system's performance and adjust as needed to maintain a healthy environment for your fish, with adequate oxygen levels and water circulation.
DIY Venturi Aerator Assembly
Now that you've decided to build a DIY Venturi Aerator, it's time to focus on the assembly process.
You'll need to start by assembling the PVC pipe with T-joints and elbows to form a loop, which will be vital for creating the Venturi effect.
Next, you'll need to think about drill hole placement, airlift pump connection, and other essential points to guarantee your system works efficiently.
PVC Pipe Assembly
Assemble the PVC pipe sections by connecting the T-joint and elbows to form a continuous loop, certifying each joint is securely fastened to create the foundation of your DIY Venturi Aerator. This loop will serve as the backbone of your aeration system, so make sure it's sturdy and watertight.
Secure connections: Double-check that each joint is tightly fastened to prevent leaks and certify a smooth flow of water.
Install a small air tube in the PVC pipe near the water outlet, which will create suction to mix air with water when the water pump is turned on.
Connect the hose to the water pump and attach it to the PVC pipe loop, making sure the outlet is positioned above the water surface in the pond or tank.
Drill Hole Placement
With your PVC pipe assembly complete, turn your attention to drilling strategically placed holes near the bottom of the pipe to harness the Venturi effect and amplify oxygenation in your pond or tank.
To create suction and promote oxygenation, you'll need to drill holes that are evenly spaced and angled downward. A minimum of 3-5 holes is recommended, depending on the size of your PVC pipe and the desired level of aeration. Make sure the holes are approximately 1/8 inch to 1/4 inch in diameter to allow for ideal airflow and water circulation.
It's vital to position the holes near the bottom of the PVC pipe to maximize the Venturi effect and create a strong suction force. This will guarantee that your DIY Venturi Aerator is efficient and effective in increasing oxygen levels in your pond or tank.
Take your time when drilling the holes, making sure they're precise and evenly spaced. This will pay off in the long run, as your fish will thrive in their newly oxygenated environment. By following these guidelines, you'll be well on your way to creating a healthy and thriving ecosystem for your fish.
Airlift Pump Connection
You'll connect the airlift pump to the PVC pipe by attaching airline tubing to the pump's outlet and securing it along the length of the pipe. This confirms a snug fit and prevents any air leaks. Make sure to tighten the tubing firmly to the pump's outlet, as any loose connections can reduce the effectiveness of the aeration system.
Secure the airline tubing by attaching it to the pump's outlet and securing it along the length of the pipe to prevent air leaks.
Place the airlift pump near the bottom of the PVC pipe to maximize oxygenation.
Inspect the connections for any signs of air leaks, and tighten the tubing as needed.
Pre-Installation Preparation Tips
Before diving into the installation process, take the time to thoroughly inspect your lawn's terrain and identify any potential obstacles that could hinder the DIY aeration system's performance. You'll want to locate any underground pipes, cables, or wires that could interfere with the system's operation. Mark these areas clearly to avoid accidental damage during installation.
Next, assess the water's depth and clarity. This will help you determine the ideal placement of the aeration system's components. Make sure to choose a location with good water circulation to maximize the system's effectiveness.
You should also consider the distance between the compressor and the aeration diffusers, ensuring that the air hoses are long enough to reach their intended locations.
As part of your pre-installation preparation tips, don't forget to gather all necessary tools and materials. Double-check that you have all the required fittings, valves, and hardware to complete the installation.
Compressor Cabinet Installation Steps
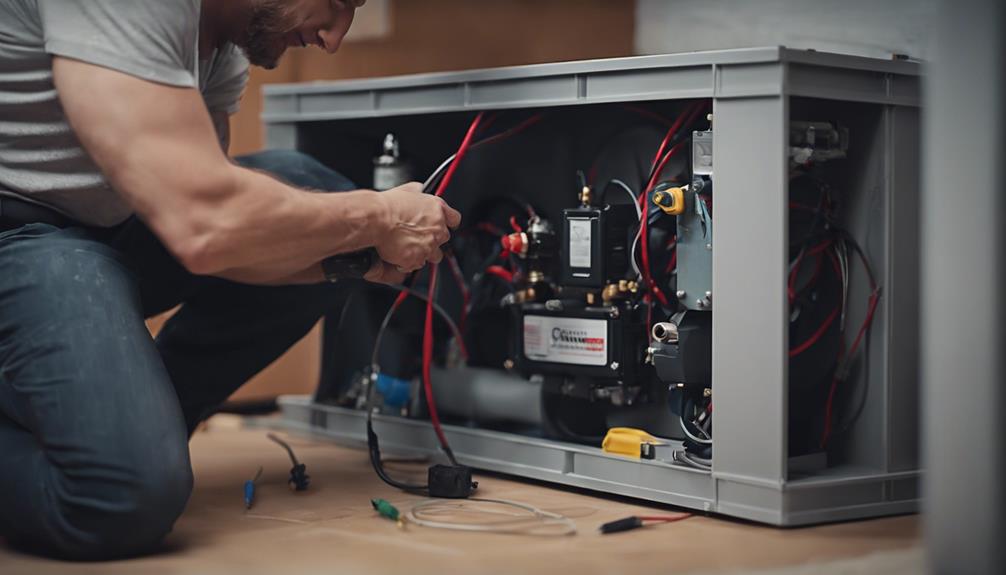
Now that you've completed your pre-installation preparation, it's time to focus on installing the compressor cabinet, which will serve as the central component of your DIY aeration system.
This vital step requires attention to detail to guarantee a safe and effective setup.
Position the cabinet near the power source, guaranteeing the ground is level or creating a 3×4 area with geotextile mesh material and PE gravel on top. Lift the cabinet with a partner to avoid injury.
Secure the cabinet on a concrete slab or solid base, allowing water to drain away. Connect the airline to the hoses at the back of the compressor unit.
Verify electrical requirements and connections, following the manufacturer's instructions for a safe and stable power supply. Guarantee all cabinet components, including valves and gauges, are securely fastened and functioning properly before proceeding.
Airline and Diffuser Assembly Guide
With the compressor cabinet securely in place, connect the airline to the diffuser, guaranteeing a snug fit and proper sealing to prevent air leaks. This connection is critical, as any air leaks can reduce the system's efficiency and compromise your fish's health.
To certify a secure connection, follow these steps:
| Step | Description |
|---|---|
| 1 | Attach one end of the airline to the compressor outlet |
| 2 | Connect the other end to the diffuser inlet |
| 3 | Tighten all connections by hand, then with a wrench |
| 4 | Inspect the connections for signs of air leaks |
| 5 | Test the system to verify proper airflow
Frequently Asked Questions
How Can I Aerate My Pond Cheaply?
You can aerate your pond cheaply by considering its size and opting for a DIY solution, like a solar-powered air pump or venturi aerator, which are cost-effective and energy-efficient, perfect for small to medium-sized ponds.
How to Make an Aerator for a Fish Pond?
You're looking to create an aerator for your fish pond! To boost aquatic oxygen, you can craft a DIY paddle wheel, venturi, or airlift pump using PVC pipes, motors, and air stones, promoting healthy water circulation and fish growth.
How to Properly Aerate a Fish Tank?
You'll guarantee healthy fish growth by maintaining ideal oxygen levels through proper water circulation, which involves providing 1 liter of air per minute for every 1 air stone, promoting perfect water oxygenation.
Where Should an Aerator Be Placed in a Pond?
When placing an aerator in a pond, you'll want to prioritize water circulation by positioning it in the deepest area or near zones with low movement, ensuring maximum oxygen distribution and healthy water flow.
Conclusion
You've finally taken the plunge and installed your DIY aeration system, breathing new life into your underwater world.
With every bubble that rises, you're giving your fish the gift of healthy, oxygen-rich water.
Your tank's now a thriving metropolis, teeming with activity and color.
As you gaze into the crystal-clear depths, you'll feel a sense of pride and accomplishment, knowing you've created a haven where your finned friends can flourish.